Todays workshop was about creating an Interactive PDF document using Adobe InDesign, we looked at placing media files, creating buttons and sound onto a file that would then be presented using the PDF format. It involved learning about basic techniques that could help us present our work in the future.
 |
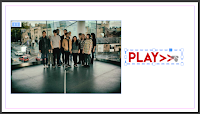
| Play Button |
 |
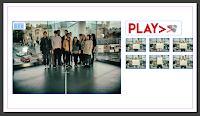
| Thumbnails |
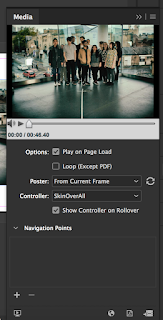
The first stage involved setting up and placing the media file into the document, I made sure that the screen size was appropriate/standard at 1920 x 1080 pixels. In the workshop we used a video that had already been put together and set the video to 'Play on Page Load' and 'Show Controller on Rollover' this meant that the video is easy to play, pause and skip for viewers. We then added buttons using Photoshop, I made one to play (blue), rollover (green) and another to click (red.) I chose to use the LemonMilk font (as it's one of my favourites) and placed them into the InDesign document and activated them as buttons.
 |
| Adding sound |
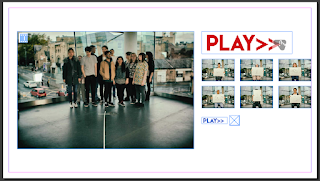
As well as buttons we also created thumbnails that allows viewers to click and it takes them to that second in the video. These were activated as buttons and then linked to the video. The next step was to add sound to the page, I tested how it would work if the sound played when the page launched but didn't like this idea so created another play button for sound that can be used whenever. I made sure to export the PDF to 'Interactive PDF' so that it can be opened and used correctly. My skills in Adobe InDesign are very limited at this moment in time but by continuing to use it and create documents like this will help me to understand it better. I hope to use these techniques for portfolios and other documents in the future as it worked out quite well.
 |
| Final look at the Interactive PDF |
 Todays workshop was about creating an Interactive PDF document using Adobe InDesign, we looked at placing media files, creating buttons and sound onto a file that would then be presented using the PDF format. It involved learning about basic techniques that could help us present our work in the future.


